The DKIM (DomainKeys Identified Mail) record adds a cryptographic digital signature to your messages, ensuring that the email content has not been altered during transit. To do this, you must follow specific steps for its correct creation and configuration:
• Step A: Obtaining the Cryptographic Key
Before working in cPanel, you must generate the public key from your email provider's admin console. The most common cases are shown below:
Google Workspace: Go to Admin > Apps > Google Workspace > Gmail > Authenticate email. Generate the record and copy the generated selector and value.
Microsoft Office 365: Access the Exchange Admin Center > Protection > dkim. Select your domain, enable signing, and extract the corresponding data.
Other providers: Locate the security settings section, usually named "DKIM Settings" or "Email Authentication".
• Step B: Implementation in cPanel
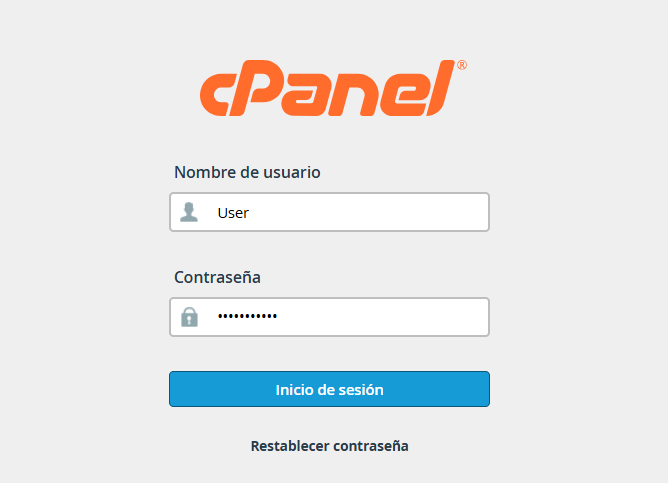
1. Log in to your cPanel control panel.
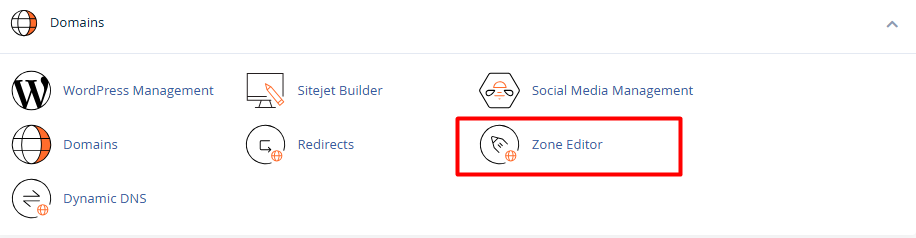
2. Scroll down to the Domains section and select Zone Editor.
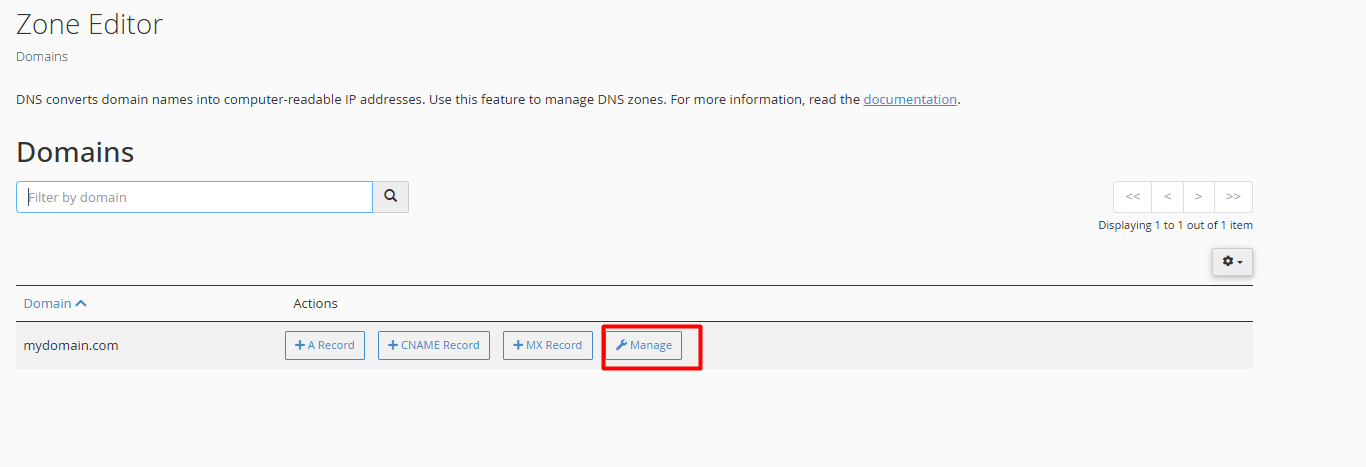
3. Locate the domain you want to configure from the list and click Manage.
4. In the Zone Editor, click + Add Record.

5. Fill out the form with the following parameters:
5.1. Type: Select TXT.
5.2. Name: Structure the name using the selector provided by your provider, strictly followed by ._domainkey. Google example: google._domainkey (the system will automatically complete it to google._://yourdomain.com).
5.3. TTL: 14400
5.4. Value (Record): Paste the full alphanumeric text string provided by your provider (make sure not to include leading or trailing spaces). Example structure: v=DKIM1; h=sha256; k=rsa; p=MIGfMA0GCSqGSIb3DQEBAQ...
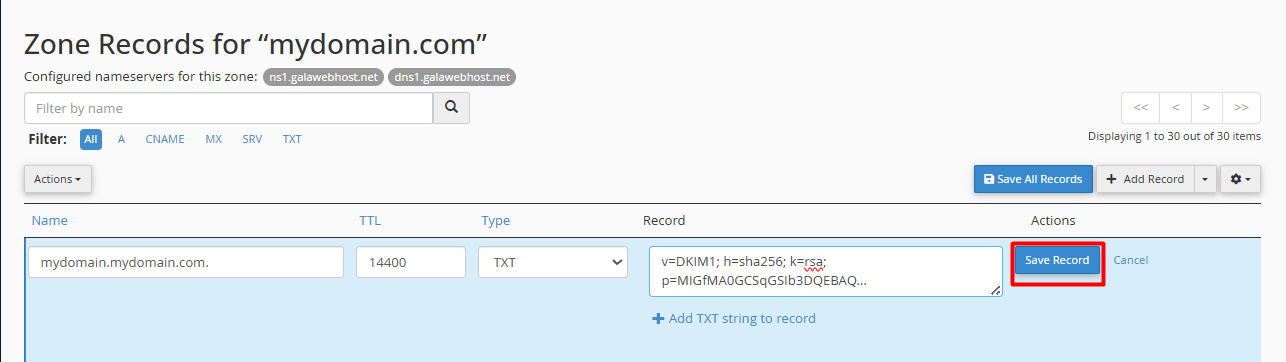
6. Click Save Record.