The advanced configuration module allows you to manage essential parameters of your server's virtualization, such as the boot order, system timezone, and mounting ISO images for custom installations.
1. Log in to your control panel using the credentials sent to your email.

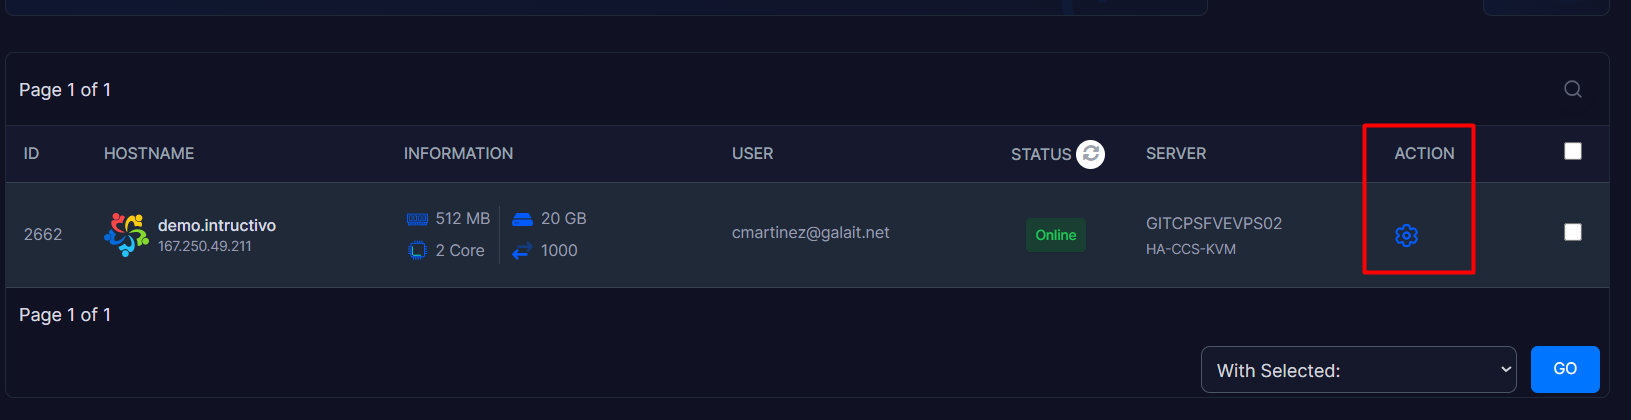
2. Once inside your panel, locate the Action module and click on the gear icon to access the administration panel.
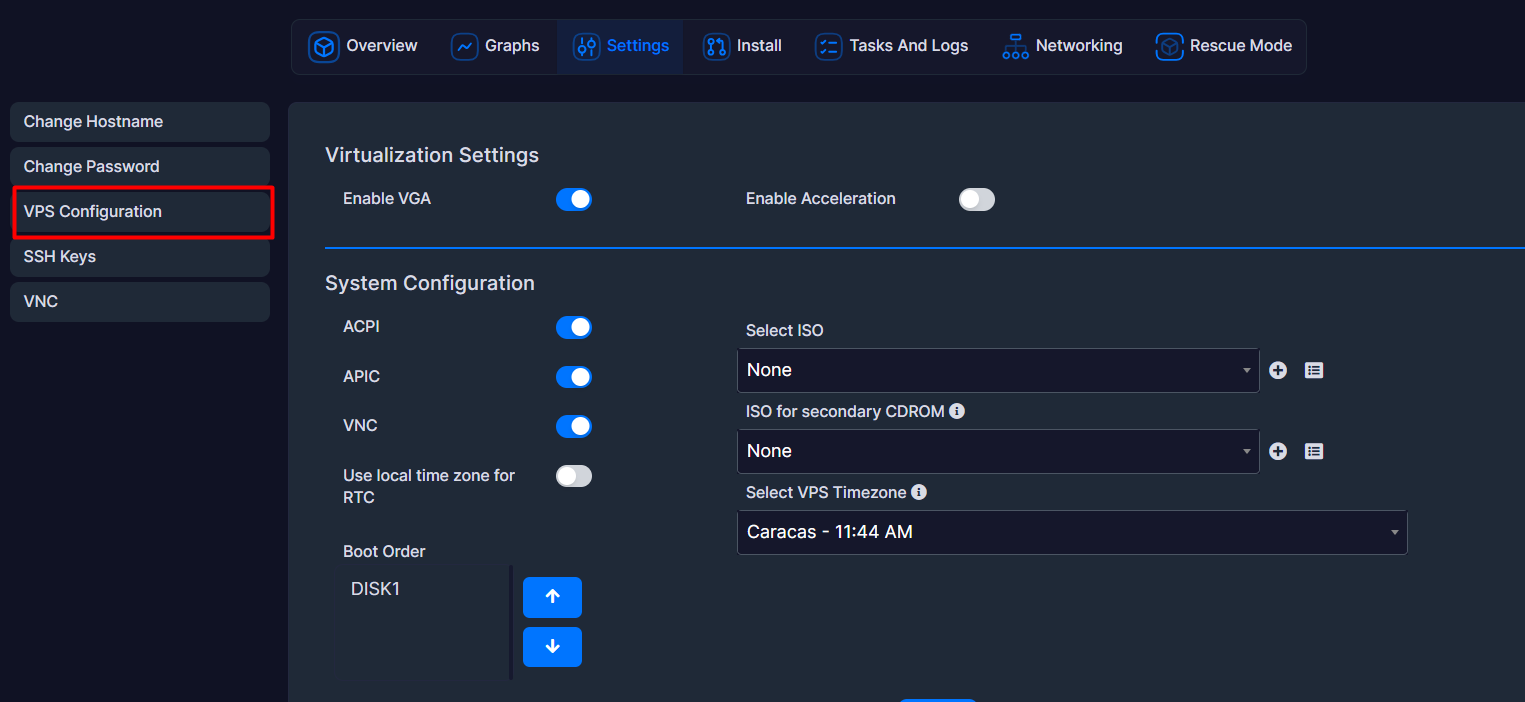
3. In the top navigation menu, locate the Settings option, click on it, and find the System Configuration module.
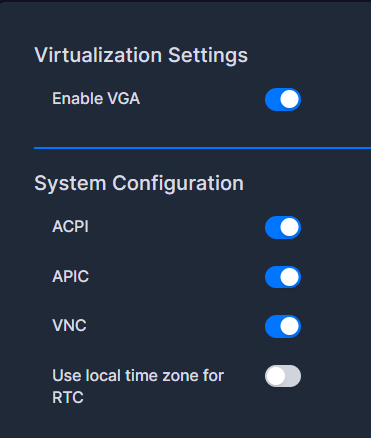
4. In this section, you can enable or disable compatibility features using the toggle switches:
4.1. Enable VGA: This is the remote graphic connection protocol that gives you direct access to your server's "virtual screen" at the hardware level, independently of the operating system's network. It is recommended to keep it Enabled. Disable it only if your project's strict security policies require disabling any external visual access that does not go through a robust VPN or SSH key.
4.2. ACPI (Advanced Configuration and Power Interface): This allows for a clean shutdown or safe reboot from the virtualization web panel. When you click "Stop" or "Reboot", the panel sends an ACPI signal to the operating system (similar to pressing the physical button on a PC), allowing services to close orderly and preventing database corruption. It is recommended to keep it Enabled. Disable it only on extremely old operating systems that do not support modern power management.
4.3. APIC (Advanced Programmable Interrupt Controller): This allows the VPS to efficiently manage multiple processing cores (Multi-core / vCPUs) by distributing network and disk-read tasks among all cores assigned to your VPS. It is recommended to keep it Enabled.
4.4. Use local time zone for RTC (Real-Time Clock): This defines how the operating system should interpret the simulated hardware clock (RTC) provided by the main host server (Hypervisor). We recommend keeping it Disabled if using Linux (and managing the timezone from the Select VPS Timezone option). Enable it if using Windows and you notice that your system time changes incorrectly.
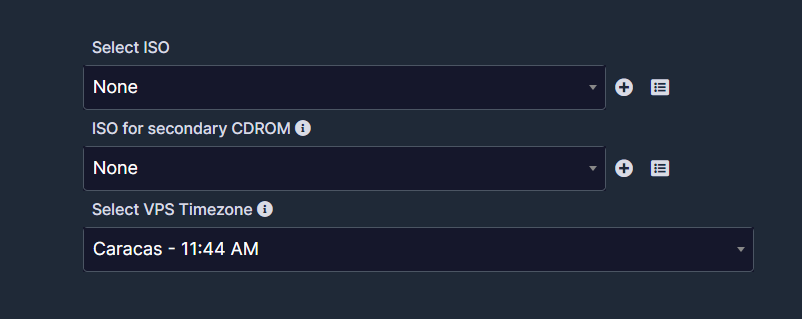
5. Image Selection (Select ISO): If you need to reinstall the operating system or load external tools, expand the Select ISO menu and choose your preferred image. A secondary virtual CDROM option is also available if needed.
6. Boot Order: Use the blue directional arrows (up/down) to organize the startup priority of your drives (Hard Disks or CDROM).
7. Click on the blue Submit button at the bottom to consolidate the modifications.
Security Notes:
Reboot required: Any technical modification made in this section requires a full Reboot of your VPS from the control panel so that the hypervisor applies the new hardware parameters.
ISO Usage: When you finish using an ISO image for recovery or installation, it is recommended to set the field back to None and verify that your main disk (DISK1) is in the first position of the boot order to avoid unexpected boot loops.
