


1. Log in to your WHM panel with your corresponding credentials.
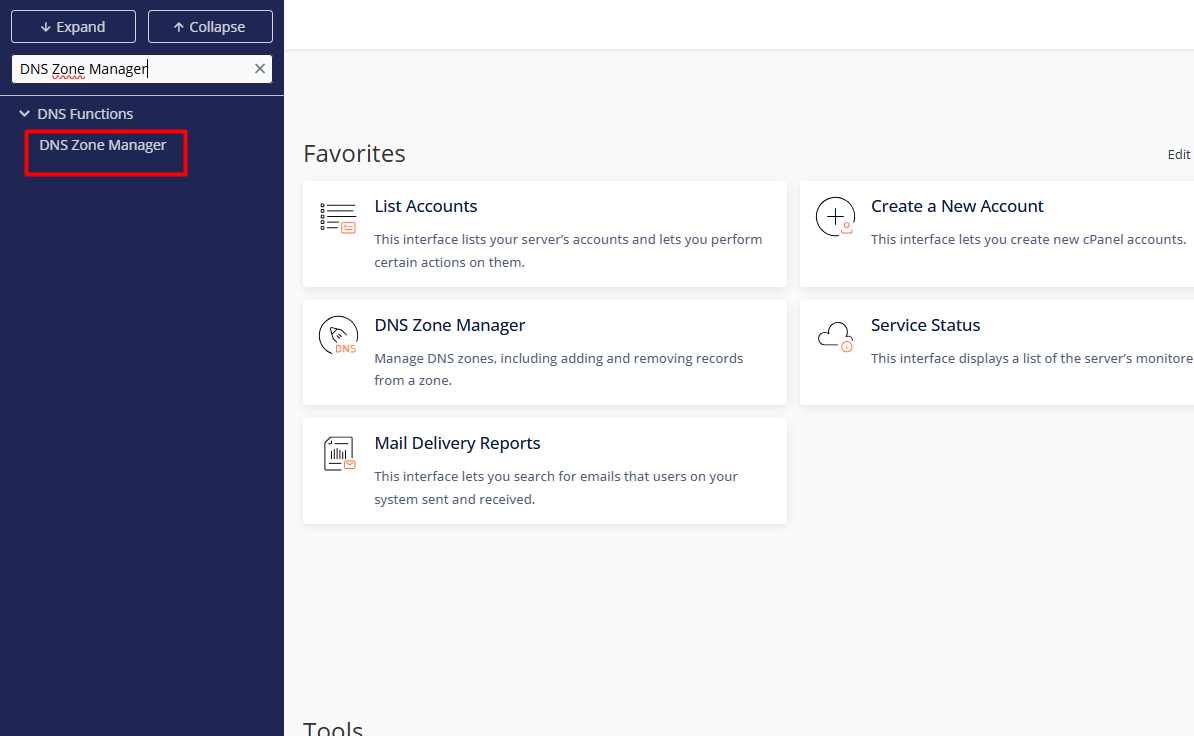
2. Go to the side menu and locate the path DNS Functions > DNS Zone Manager.
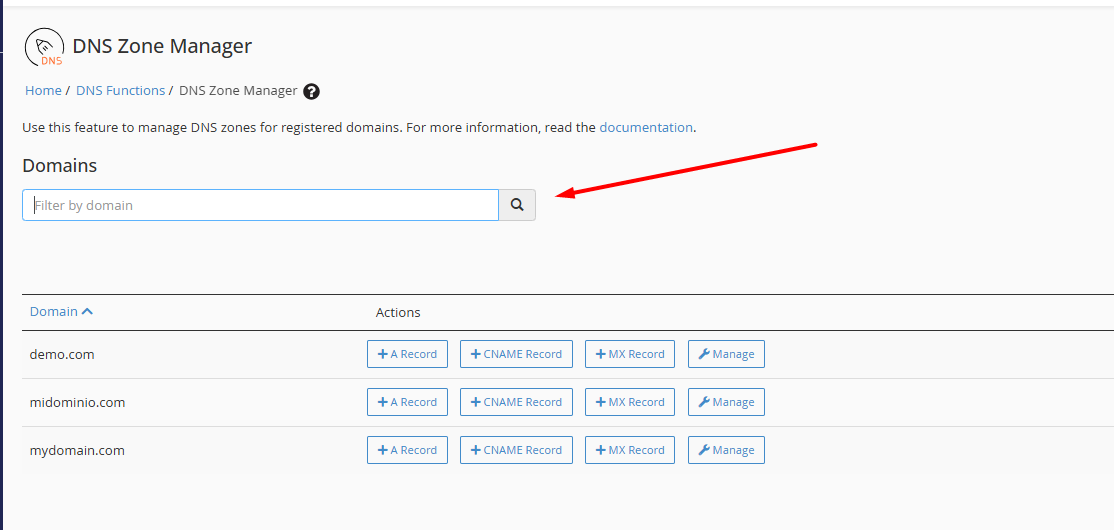
3. Within the master list, locate the target domain. You can optimize the search by using the text filter to find specific accounts immediately.
4. Operational Management:
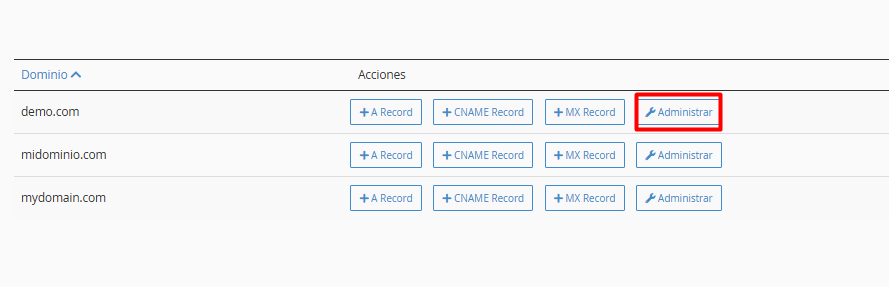
4.1. Manage: Access the full zone view to edit, add, or remove records such as A, CNAME, MX, TXT, and others.
4.2. Quick Insert: Use the shortcuts to add new records without navigating through complex menus.
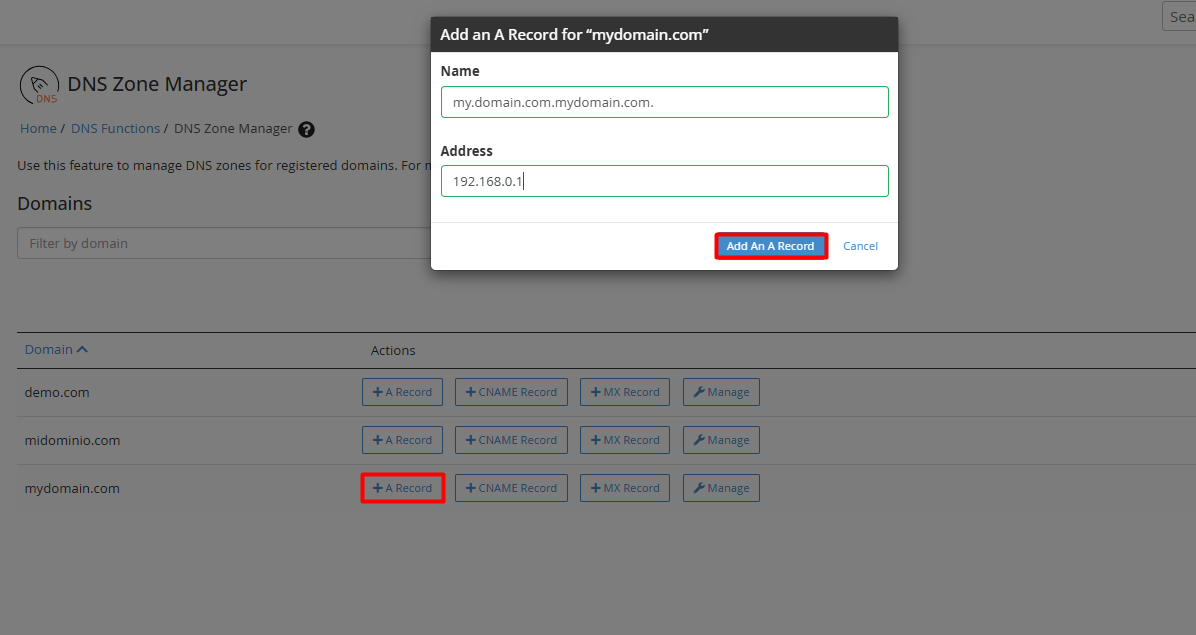
4.3. Validation and Application: When making modifications, verify the accuracy of the TTL (Time To Live) values and destinations. Finalize the operation by clicking Save Record.
• Data Integrity: Although WHM performs automatic syntax validation, it is imperative for the administrator to confirm that IP addresses and destination records are exact to prevent resolution outages.
• Email Configuration: If you use external services (such as Google Workspace or Microsoft 365), ensure you set the "Email Routing" to the Remote Mail Exchanger option to guarantee message delivery.
• Propagation Cycle: Consider that any technical adjustment triggers an update across global nodes, a process that can be completed in a few minutes or extend up to 48 hours.
