The SPF record authorizes which IP servers can send email on behalf of your domain. It helps prevent identity theft (spoofing).
1. Log in to your cPanel control panel.
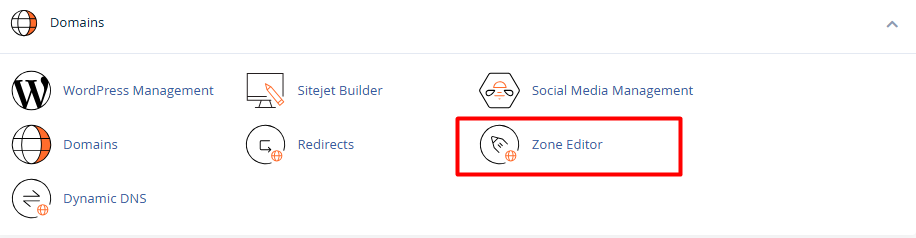
2. Scroll down to the Domains section and select Zone Editor.
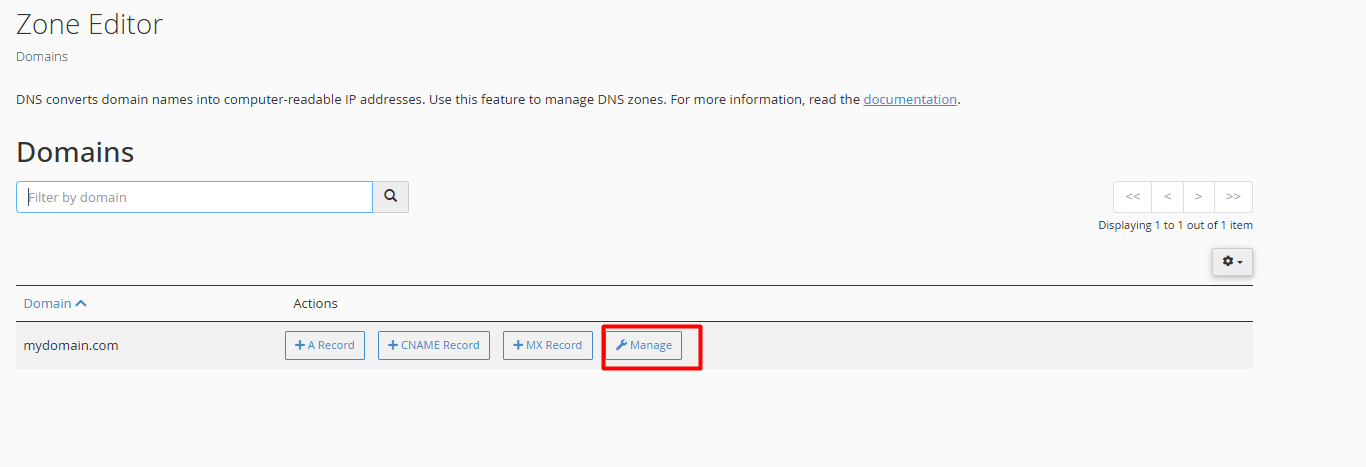

|
Supplier / Scenario |
TXT Record Value (SPF Syntax) |
| cpanel | v=spf1 +ip4:167.250.49.5 +ip4:198.50.127.198 +a +mx ~all |
| Hybrid / Multiple Providers (e.g., Google + Mailchimp) | v=spf1 include:_spf.google.com include:servers.mcsv.net ~all |
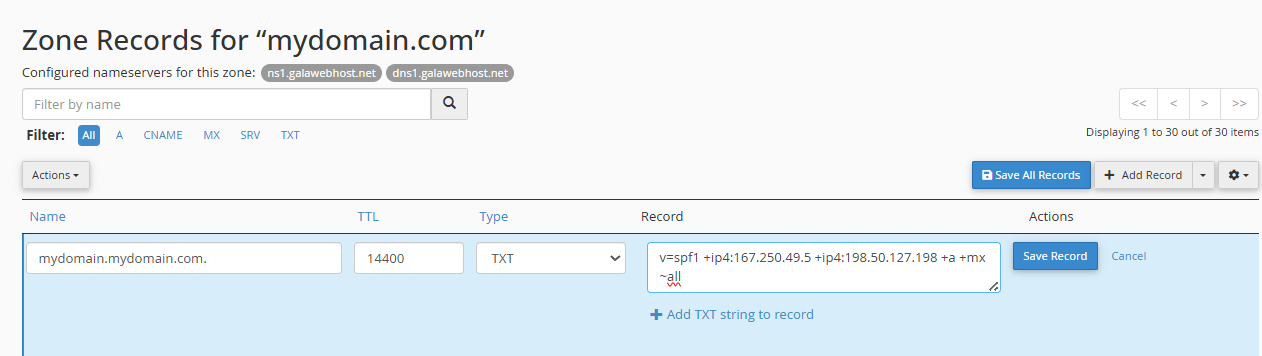
6. Click Save Record (or Add Record) to apply the changes.
Note:
Before creating a new record, verify if a TXT record with the value v=spf1 already exists. If so, you must edit the existing one instead of creating a new one to avoid resolution conflicts.
The end of the SPF record determines what happens to emails sent from unauthorized servers. You can change this value depending on the level of security you want:
~all (Recommended to start): Sends unauthorized emails directly to the Spam folder.
-all (Maximum security): Completely blocks and rejects unauthorized email.
?all (Neutral): Allows the email to pass through without applying any rules (used only for testing purposes).
+all (Insecure): Allows anyone to send emails on your behalf. We do not recommend its use for security reasons.