The IP Blocker tool allows you to restrict access to your websites and hosted services to prevent unwanted visits, mitigate hacking attempts, or stop Denial of Service (DoS) attacks. You can block individual IP addresses, entire network ranges, or domain names.
1. Log in to your cPanel using the credentials sent to you by email.
2. Navigate to the IP Blocker module within the Security section of your cPanel and click on it.

3. In the "IP Address or Domain" field, enter the credential you wish to restrict. The system accepts the following standard formats:
3.1. Single IP: A single network address (e.g., 192.168.0.1 or 2001:db8::1).
3.2. Range: Delimited by a hyphen (e.g., 192.168.0.1-192.168.0.40).
3.3. Implied Range: Reducing the last octet (e.g., 192.168.0.1-40).
3.4. CIDR Format: Specific network subnet masks (e.g., 192.168.0.1/32).
3.5. Wildcard with asterisks (Implies 192.*.*.*): Blocks all variants starting with that numbering by entering only the root (e.g., 192.).
3.6. Domain Name: Enter a Fully Qualified Domain Name (FQDN), and the manager will automatically attempt to resolve its public IP address to block it.
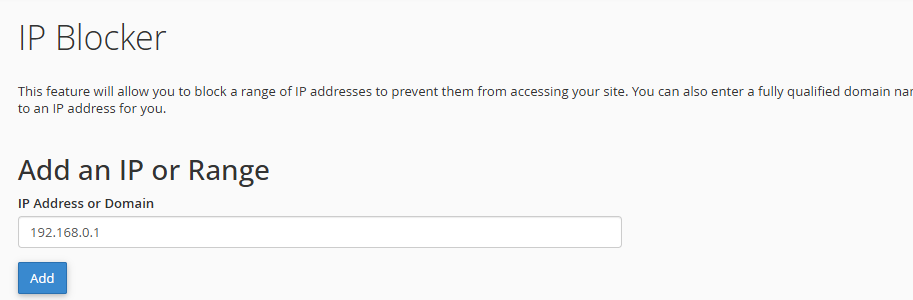
3.7. Click the blue "Add" button to process the request.
4. In the bottom section, "Currently-Blocked IP Addresses", you can audit, monitor, and remove active blocks at any time from the actions column.

Security Notes:
• Error Alert: If the system displays the red message "Invalid IP Address Range", verify that you haven't entered any blank spaces or invalid characters, and ensure that the network format matches the allowed examples exactly.
• Self-Block Prevention: Take extra caution when entering very broad ranges or short wildcards (such as entering just 192.), as you could accidentally block your own public IP address and lose access to your web portals
