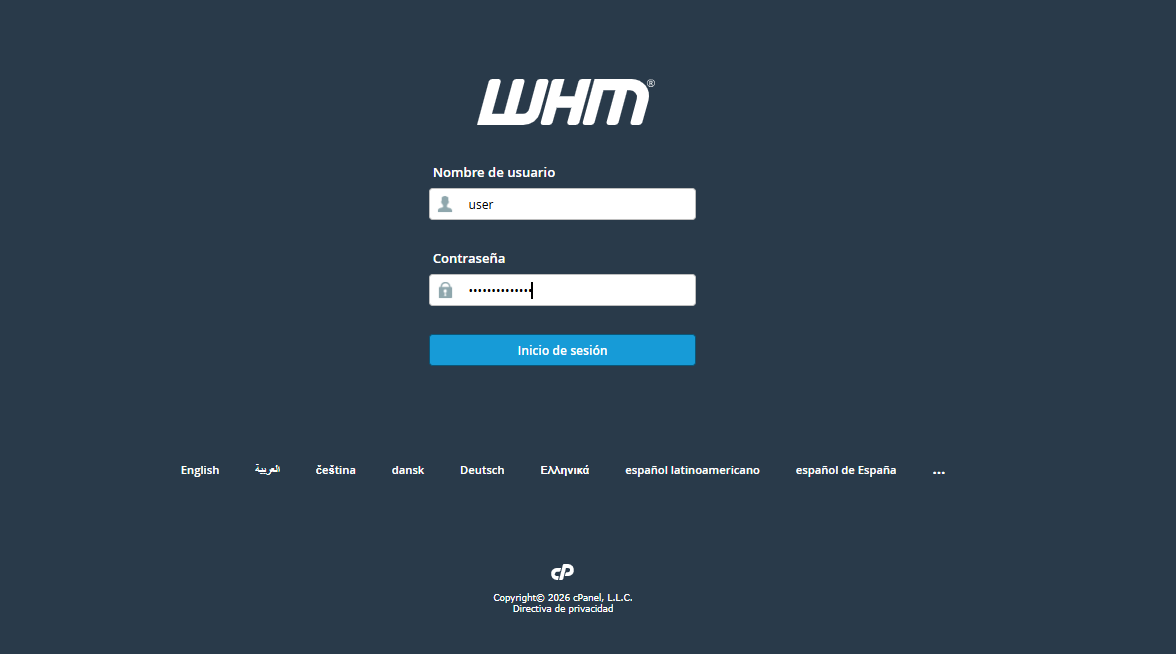
1. Log in to your WHM panel.
2. In the left search bar, type "cPanel" and select the Customization section.
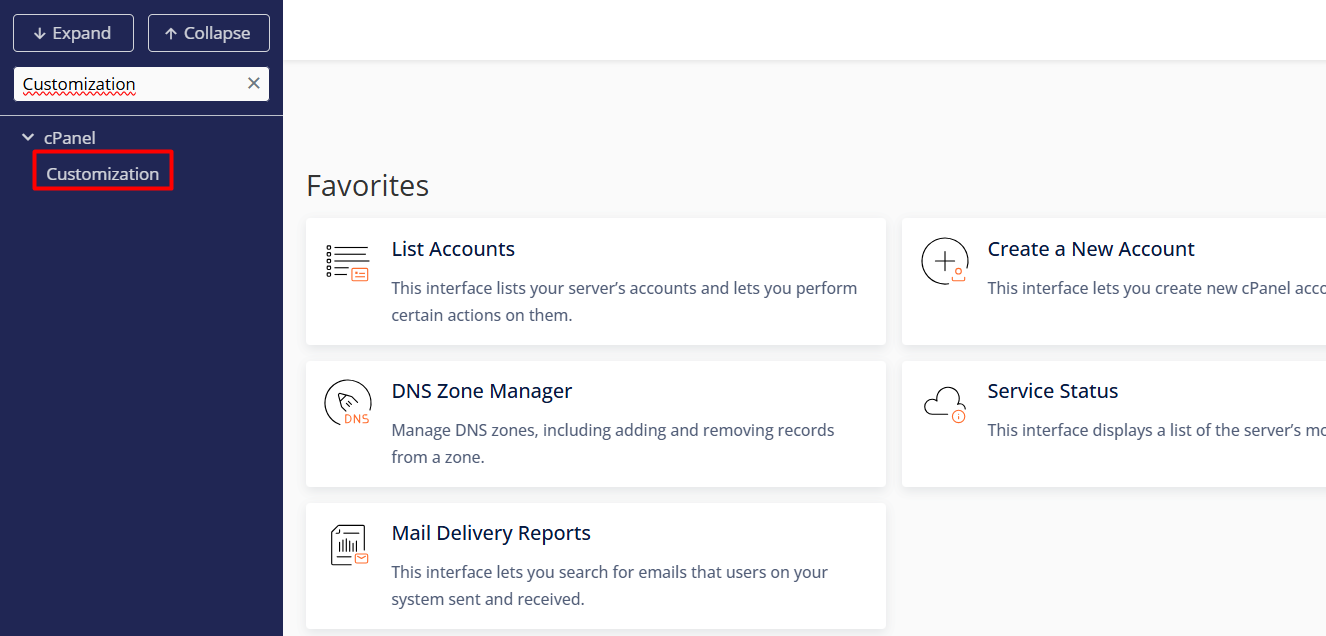
3. In this section, you will find the fields to customize your brand:
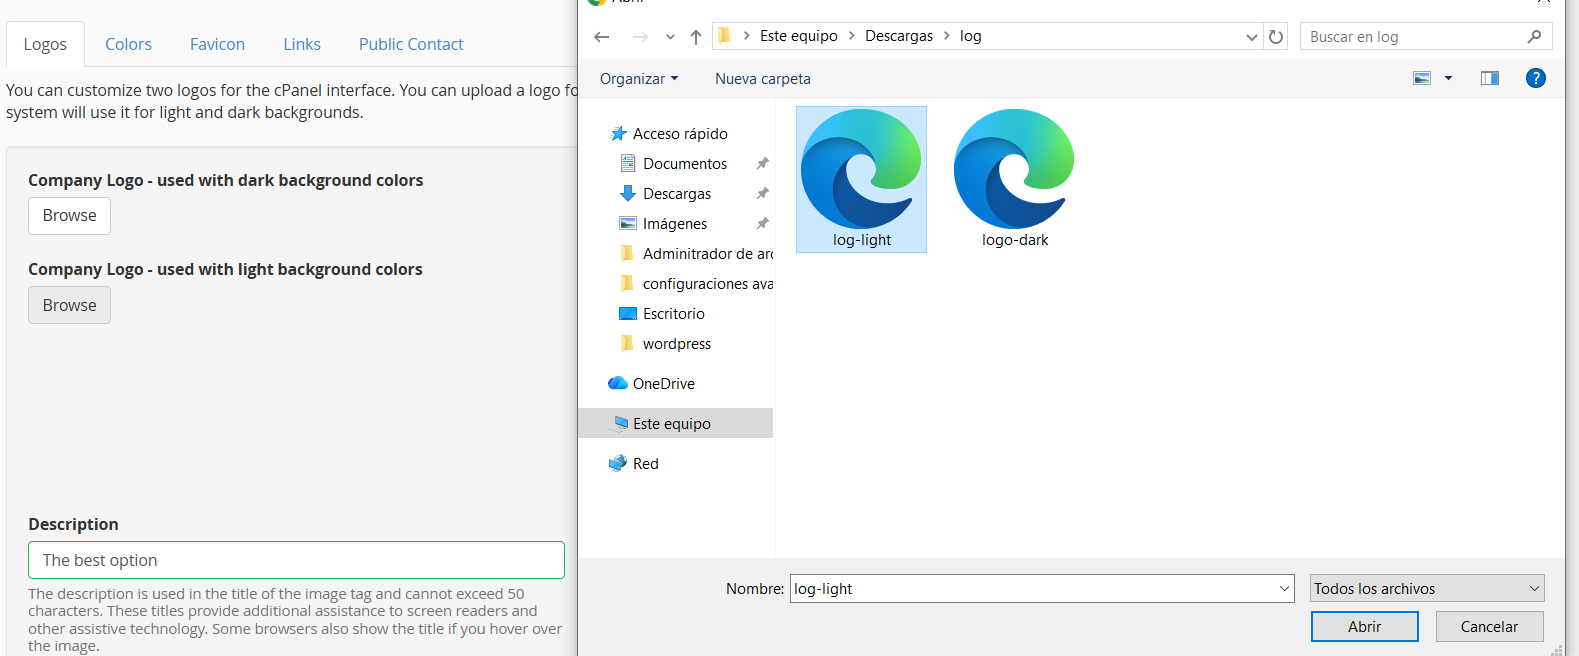
3.1. Logos
• Function: Replaces the default cPanel logos with your own brand logos.
• Requirements: .svg format with recommended dimensions of 200 × 100 pixels.
• Configuration: Upload your design to the Light and Dark interface sections. If you upload only one file, it will automatically apply to both styles.
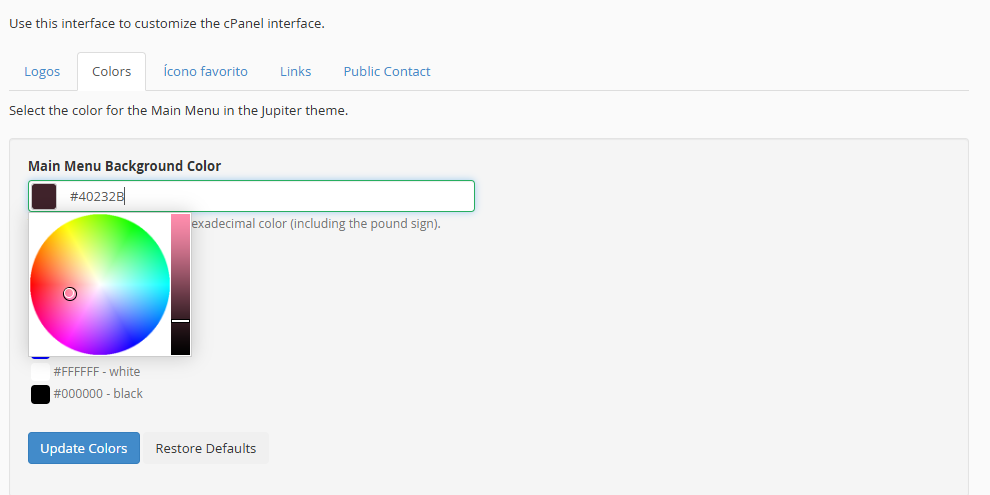
3.2. Colors
• Function: Modifies the interface color palette to align it with your corporate identity.
• Configuration: Use the color picker or enter hexadecimal codes (example., #HEX) to customize the tones of buttons, navigation menus, and your clients' panel backgrounds.
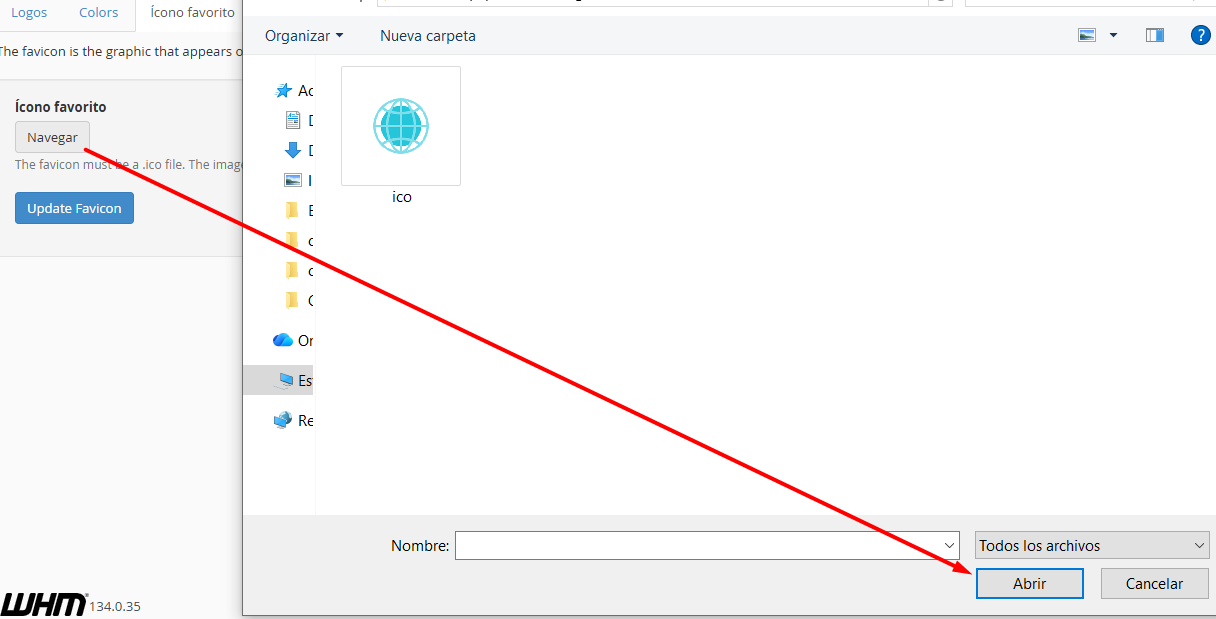
3.3. Favicon
• Function: Modifies the small graphic that appears on the web browser tab.
• Requirements: .ico format with a standard size of 32 × 32 pixels.
• Configuration: Upload the file from your computer to immediately update the navigation icon.
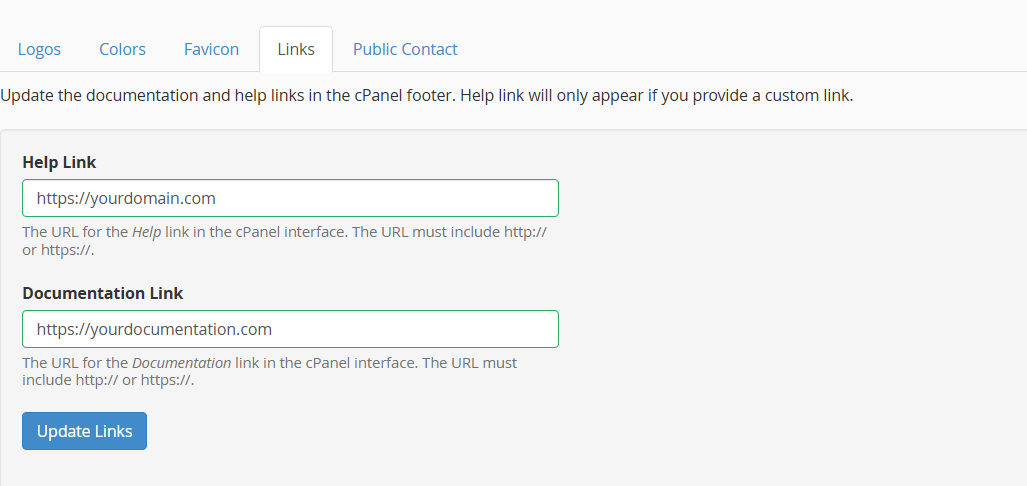
3.4. Links
• Function: Manages the technical support shortcuts located in the footer.
• Fields:
º Documentation: Direct link to your knowledge base or user manuals.
º Help: URL pointing to your own ticket system or help desk.
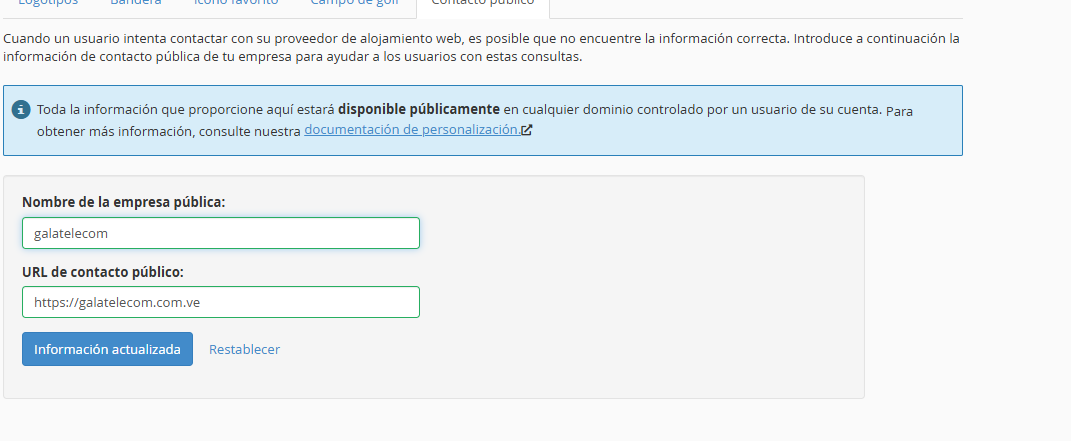
3.5. Public Contact
• Function: Configures the information that cPanel automatically displays on server-generated pages (such as suspended sites or default landing pages).
• Fields:
º Company Name: Legal or commercial name of your brand.
º Contact URL: Main website address so users can easily reach you.