


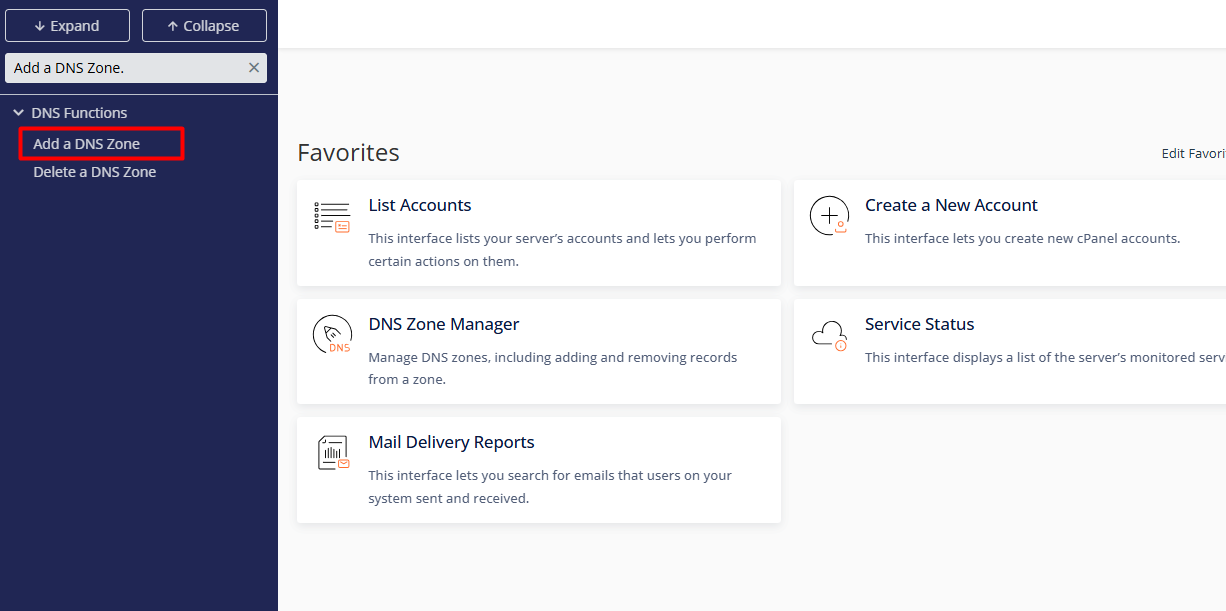
2. Use the search tool in the sidebar to locate DNS Functions and select Add a DNS Zone.
3. Configuration Parameters:
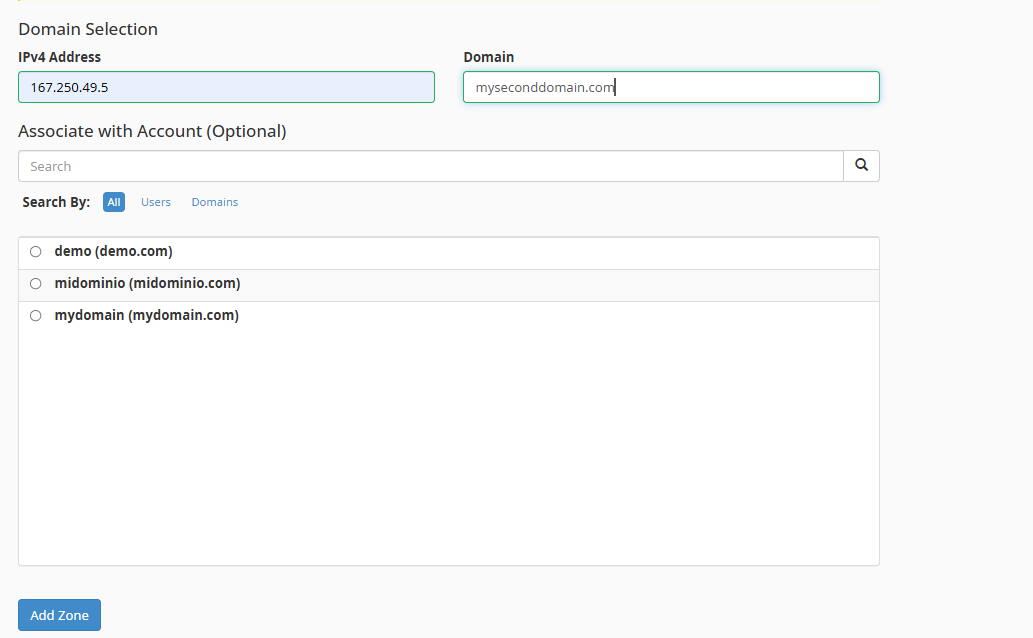
3.1. IP Address: Specify the destination IP (typically the server's primary IP).
3.2. Domain: Enter the root domain name (e.g., company.com).
3.3. Deployment: Click the Add Zone button. The system will automatically initialize the zone file with essential records (SOA, NS, and A).
• Base Configurations: WHM establishes default records during creation. To integrate third-party services (such as Microsoft 365 or Google Workspace), additional adjustments must be made via the Edit DNS Zone tool.
• Propagation Cycle: Please note that record updates may require a period of 24 to 48 hours for global resolution, depending on TTL values and network nodes.
• Conflict Validation: The system features a redundancy detection mechanism that will alert you if the domain already has active records on the server, preventing resolution collisions.

