.zip format, which includes all the essential components for your site’s operation. Alternatively, if you already have the files locally on your computer, you may proceed by uploading the corresponding compressed file.1. Log in to your cPanel account.
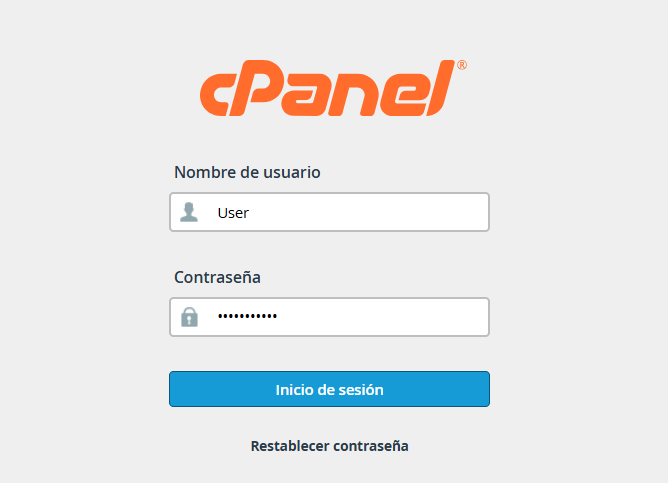
2. Open the File Manager and locate the root folder, typically named public_html.
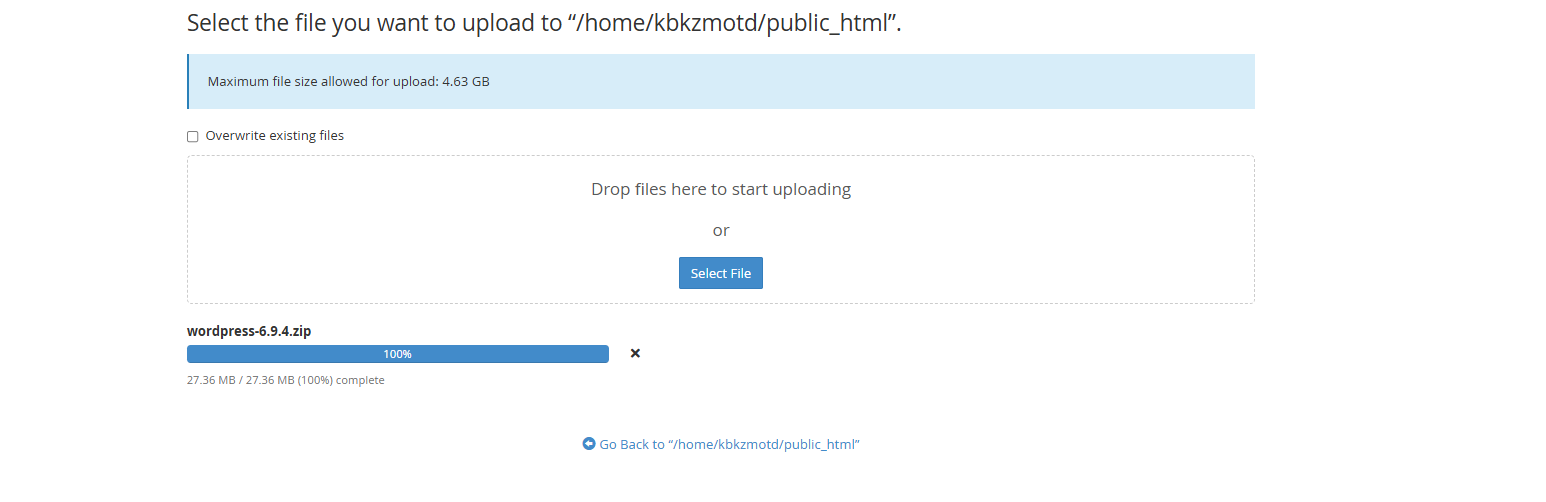
3. Click on Upload, select the .zip file, and wait for the process to complete (the progress bar will turn green).
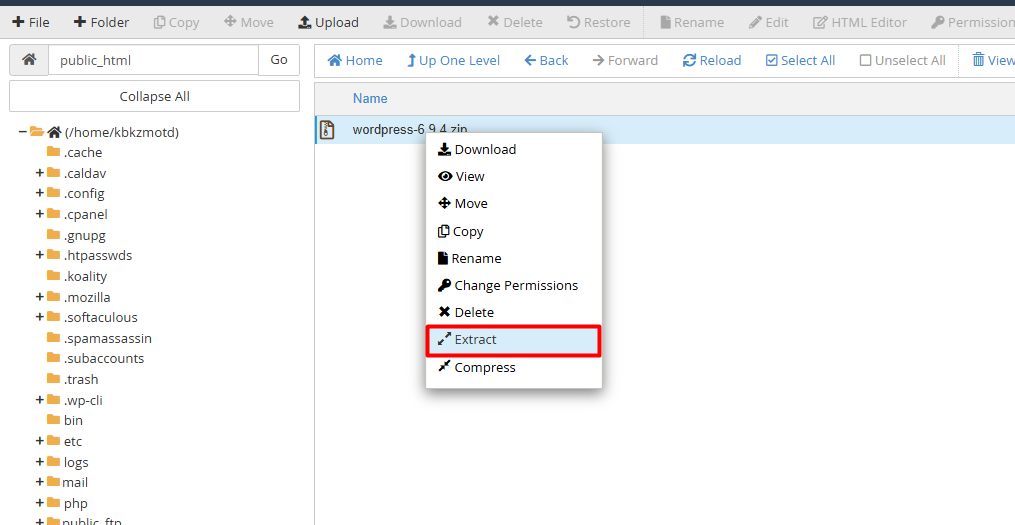
4. Once uploaded, select the file and click Extract.
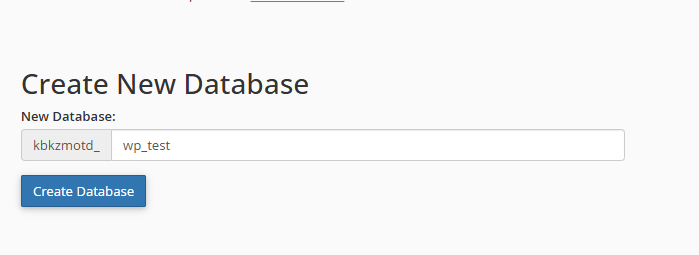
5.1. Creation: In the MySQL Databases section, assign a name to your database (e.g., wp_site) and create it.
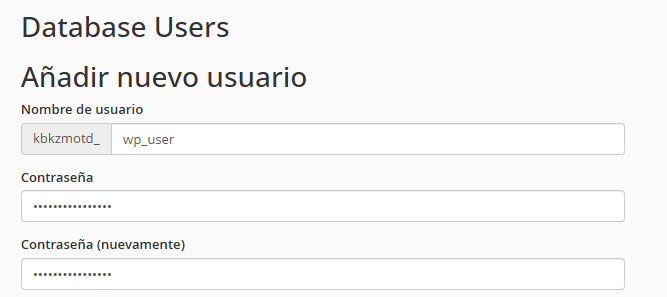
5.2. User: Create a new user with a secure password. Save these credentials, as the installer will request them later.
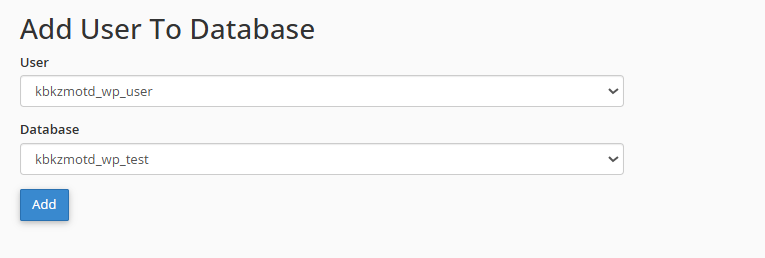
5.3. Linking: In the "Add User to Database" section, select both the user and the database you just created, click Add, and grant All Privileges.
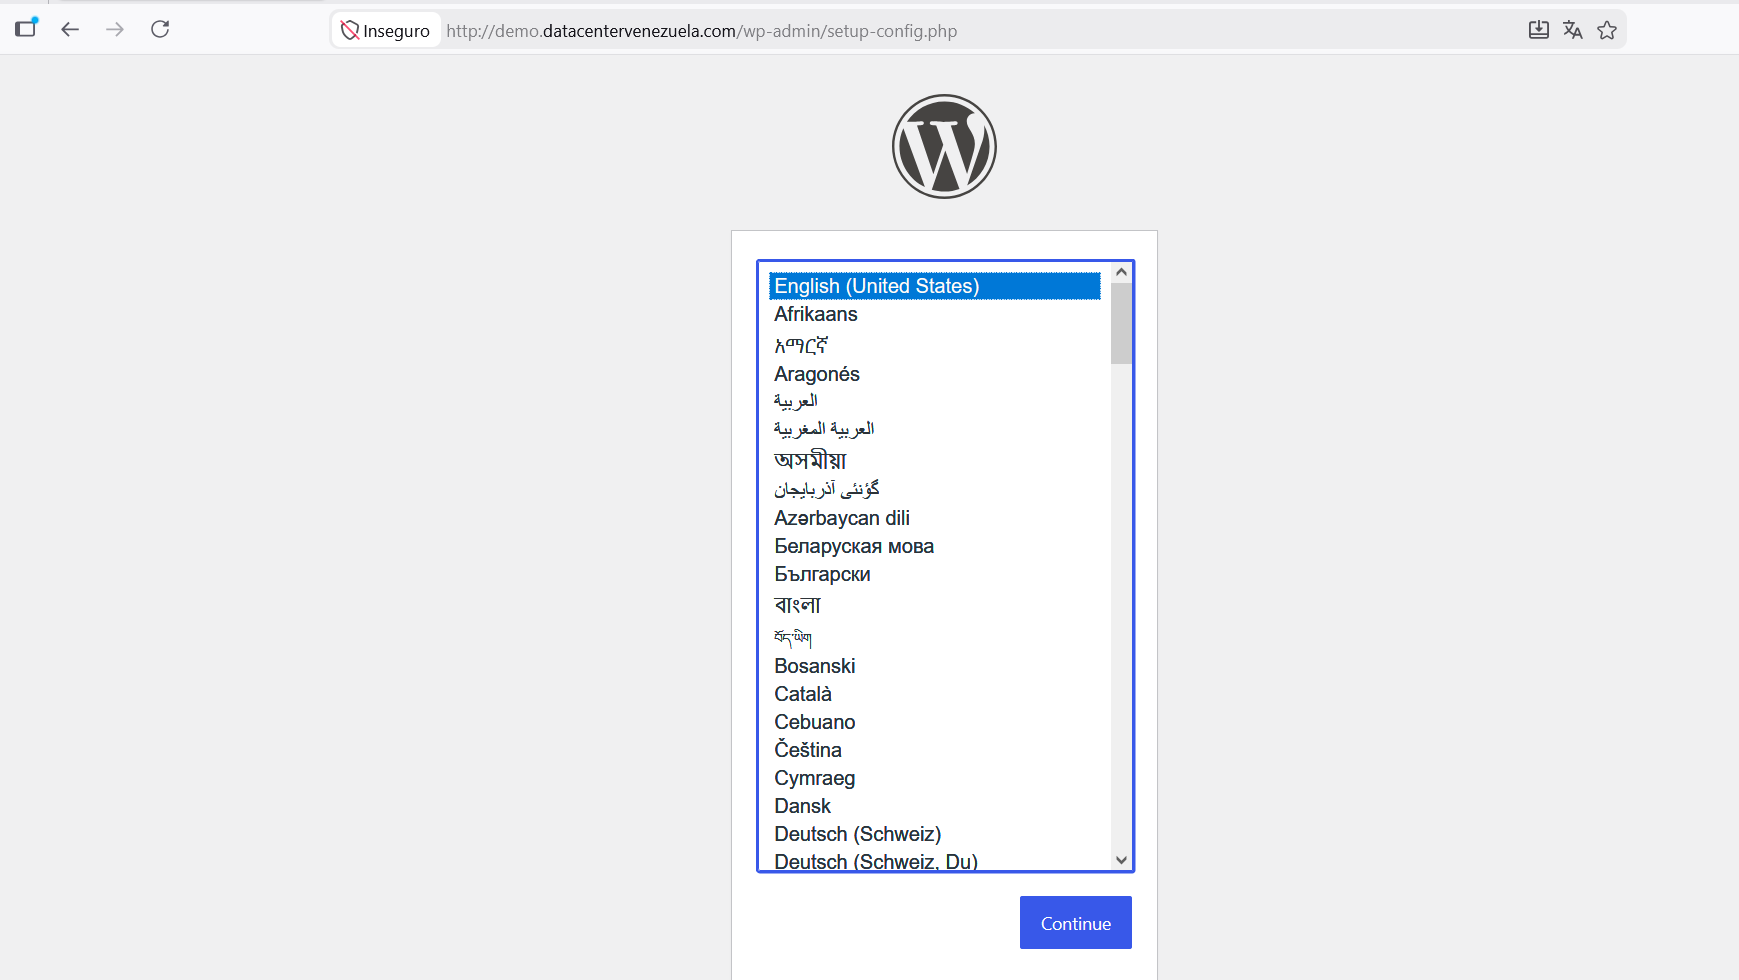
yourdomain.com). The WordPress wizard will guide you through the final steps:6.1. Set the default language for the process. Please note that you can modify this at any time from the settings, with no risk of losing your information or progress.
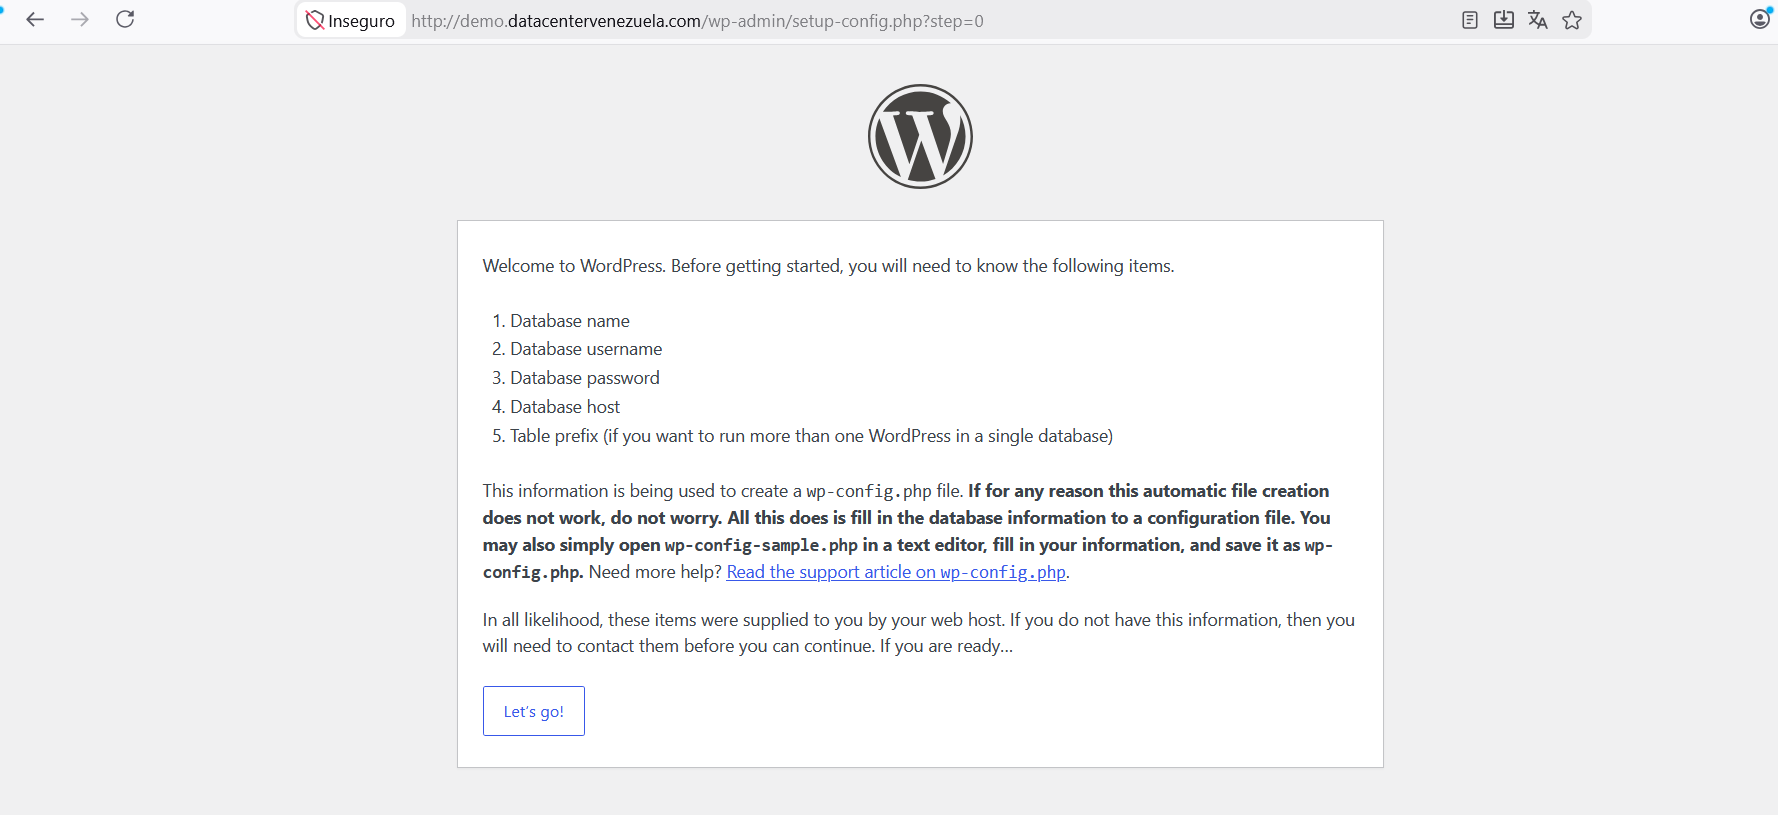
6.2. Database Connection: Enter the database name, username, and password you configured. Keep the database host as localhost.
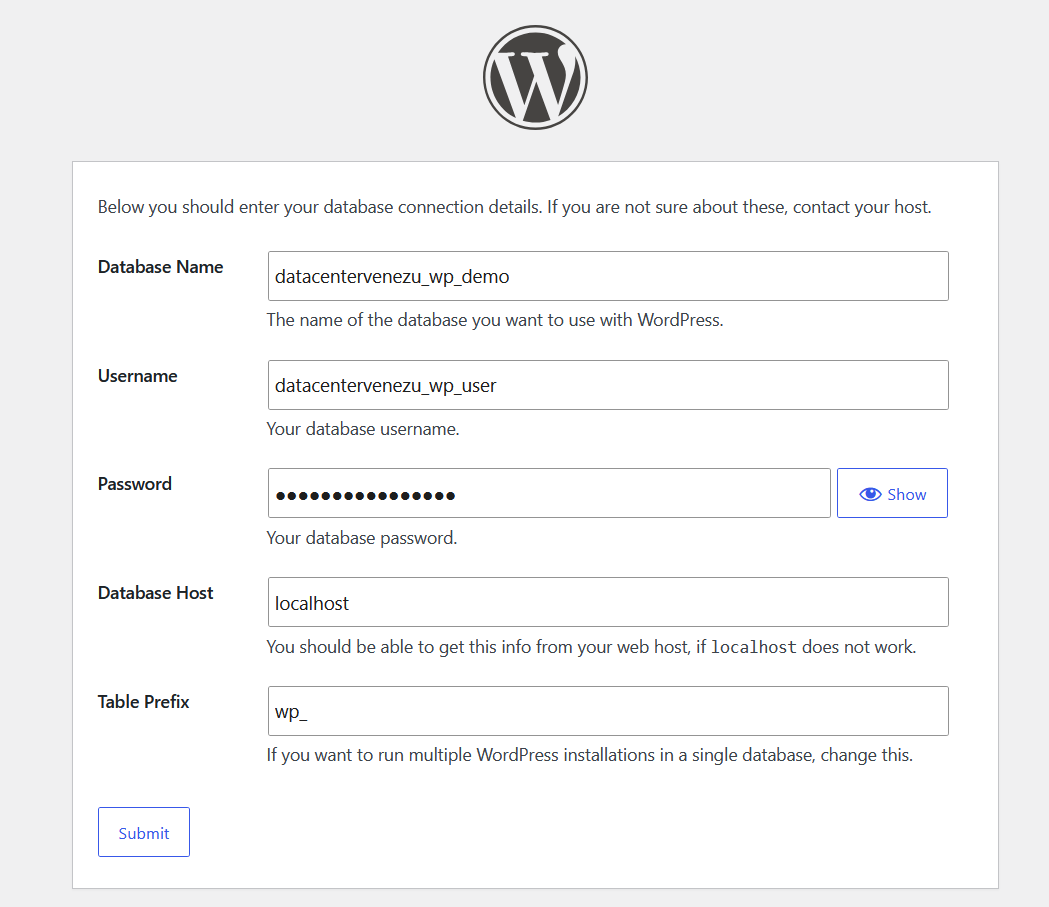
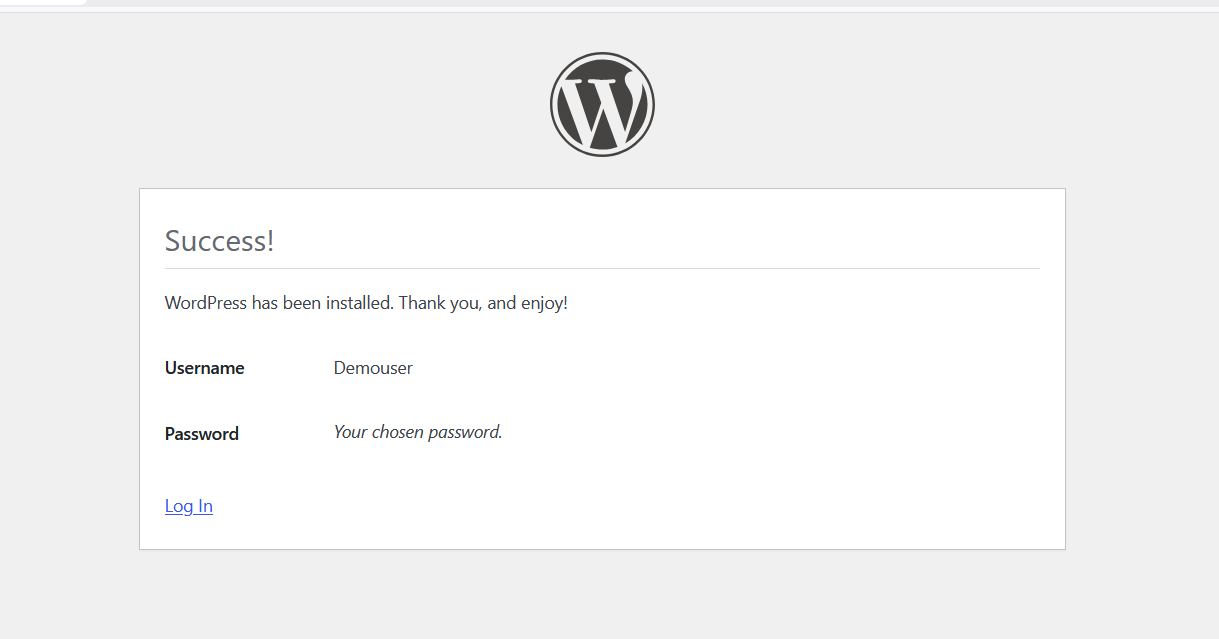
6.3. Site Profile: Define your website title and create your login credentials.
/wordpress, enter that folder, select all the content, and move it directly to the public_html root.
• Avoid using "admin" as your username in the Site Profile section for enhanced security