Integrating new components allows you to boost your website's capabilities in an agile and secure manner. Follow this workflow to execute the installation:
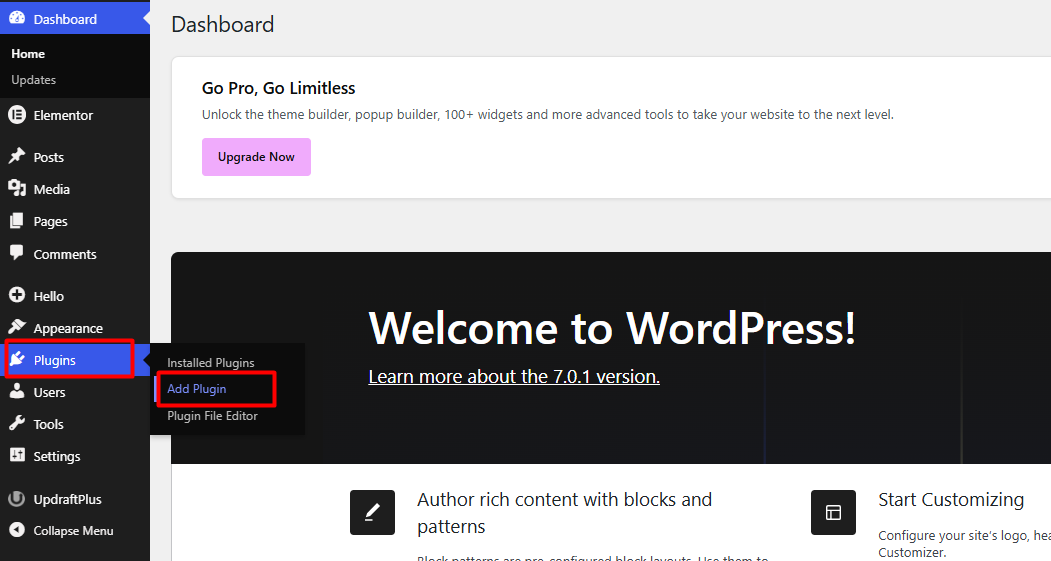
1. Navigate to the sidebar of the administration panel, locate the Plugins section, and select the Add New option.
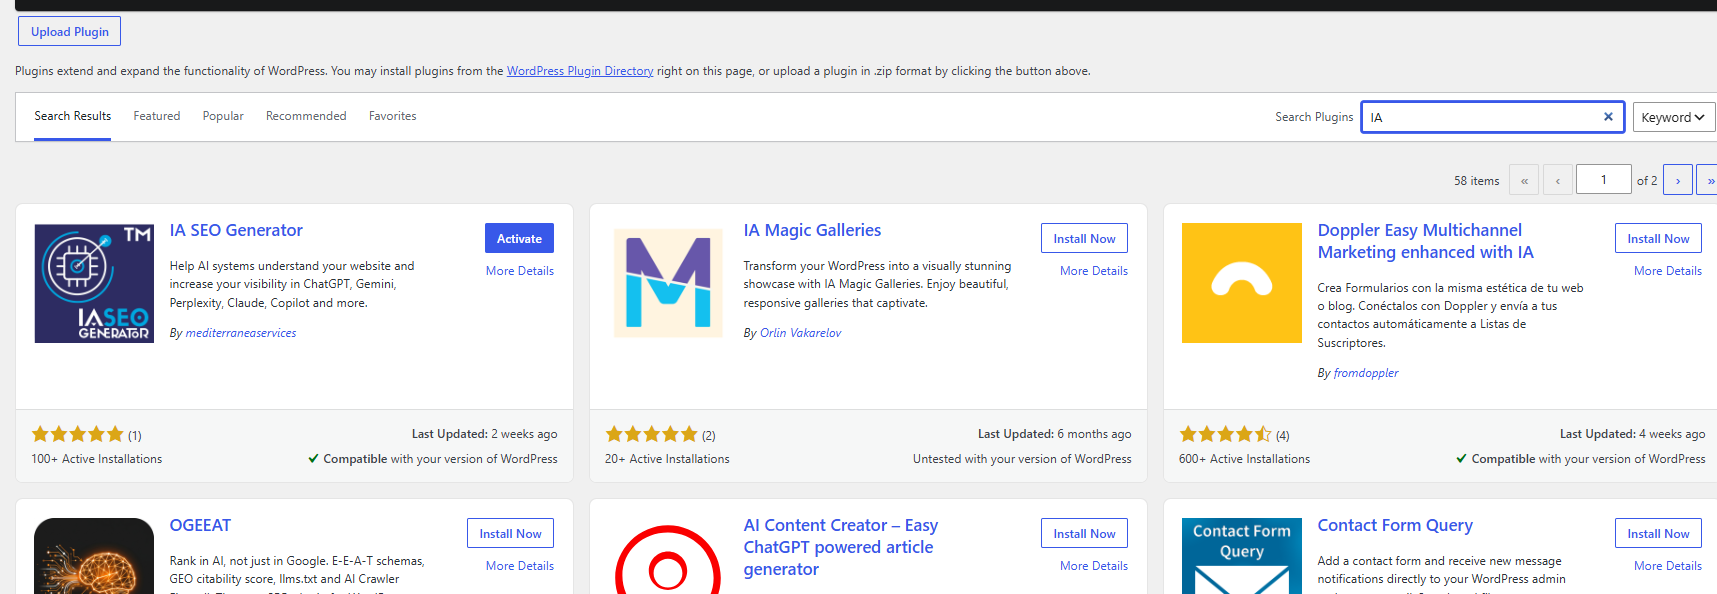
2. Use the search bar located in the upper right corner to locate the desired plugin by name, functionality, or author.
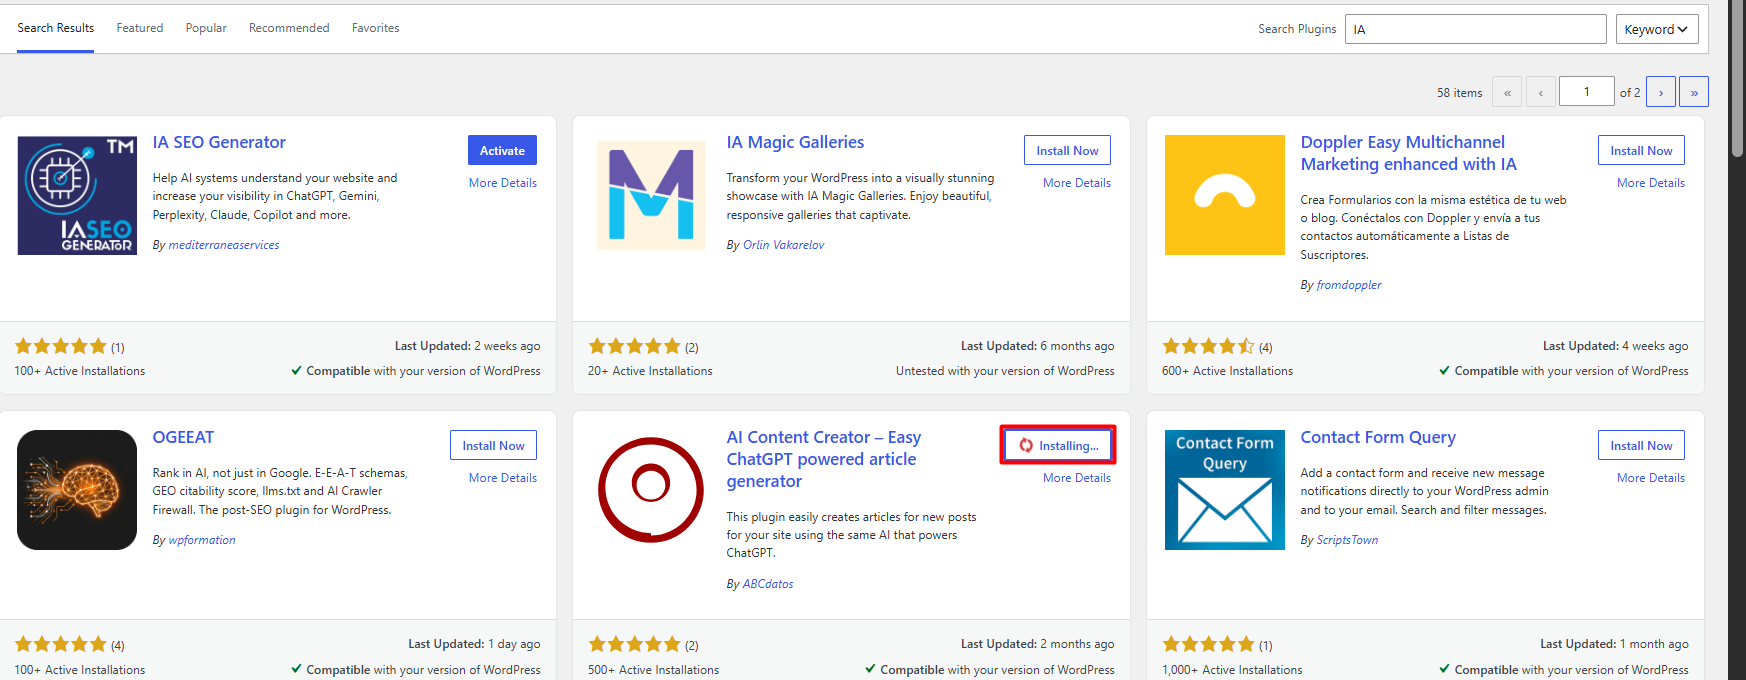
3. Once the component is identified, click the Install Now button. The system will automatically process the download and preparation of the necessary files.
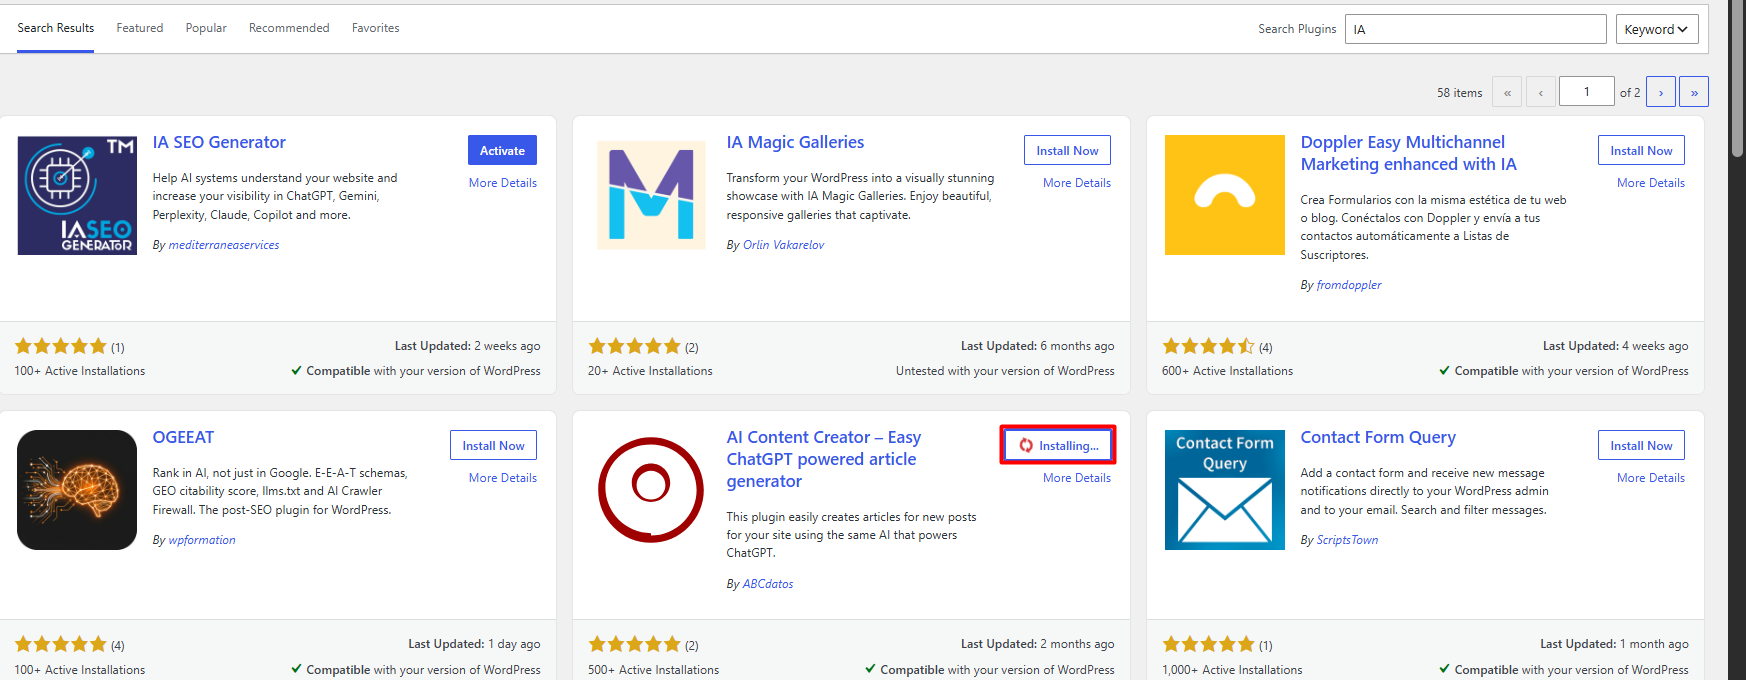
4. Upon completion of the installation, the button will change to Activate. Click it to integrate the plugin into your production environment and begin utilizing its features.
Security Notes:
• Before installing any component, verify that it is compatible with your current version of WordPress and that it has recent updates from its developer.
• It is highly recommended to validate the reputation and reviews of the plugin before installation, thereby ensuring it does not compromise the security or integrity of your site.
• To mitigate potential performance conflicts or incompatibilities with other add-ons, we recommend performing this implementation in a staging environment before applying it definitively to your production site.
• Avoid installing redundant add-ons; an excess of active plugins can negatively affect loading times and the overall performance of your infrastructure.